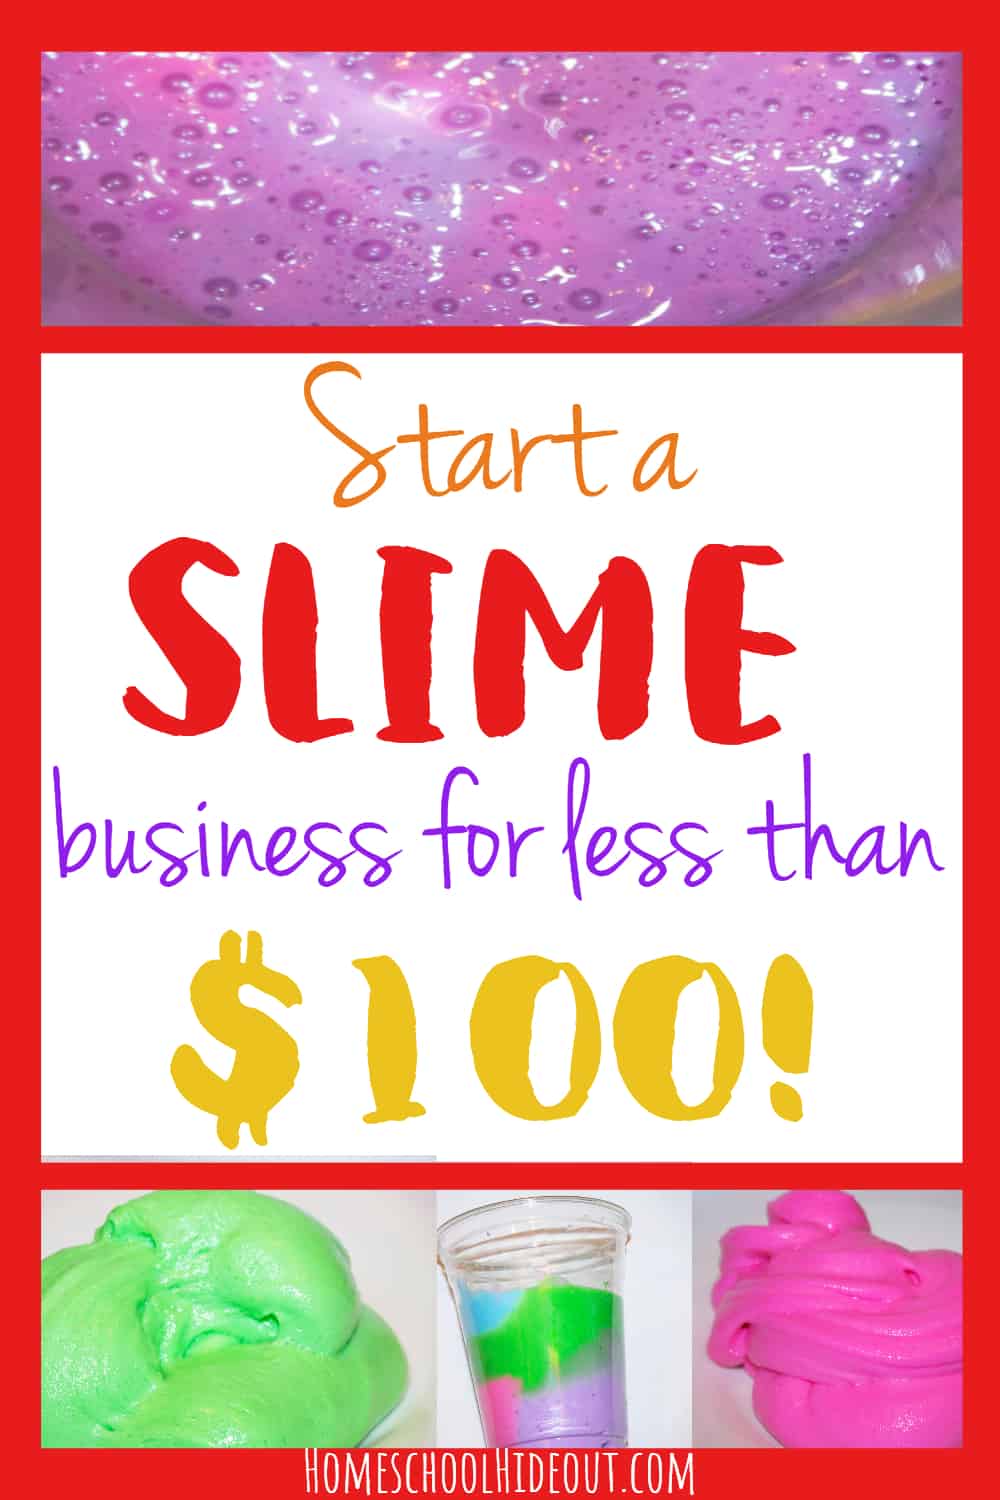
Unless you’ve been living under a rock for the last year or two, you’ve likely seen slime rise in popularity. From fluffy to glitter filled, the demand for slime has skyrocketed, leaving kids all across the country squealing in delight. With hundreds of recipes out there, it’s hard to find the perfect slime recipe.
A few months ago, my kids cooked up the grand idea to start selling slime to unsuspecting customers in our town. After hours of watching tutorials, experimenting and saving their money, they finally were ready to open their slime business.
If only it were that easy.
As with any business, opening a slime business is hard work. You need to figure out a thing or two before you can just jump in. After all, there’s no point in whipping up hundreds of batches of slime until you have an avenue to sell them.
While it may be hard, the first step is to get a plan. Sit down and hashing out the details will make things SO much easier in the long run.
This post is sponsored by Oriental Trading Company.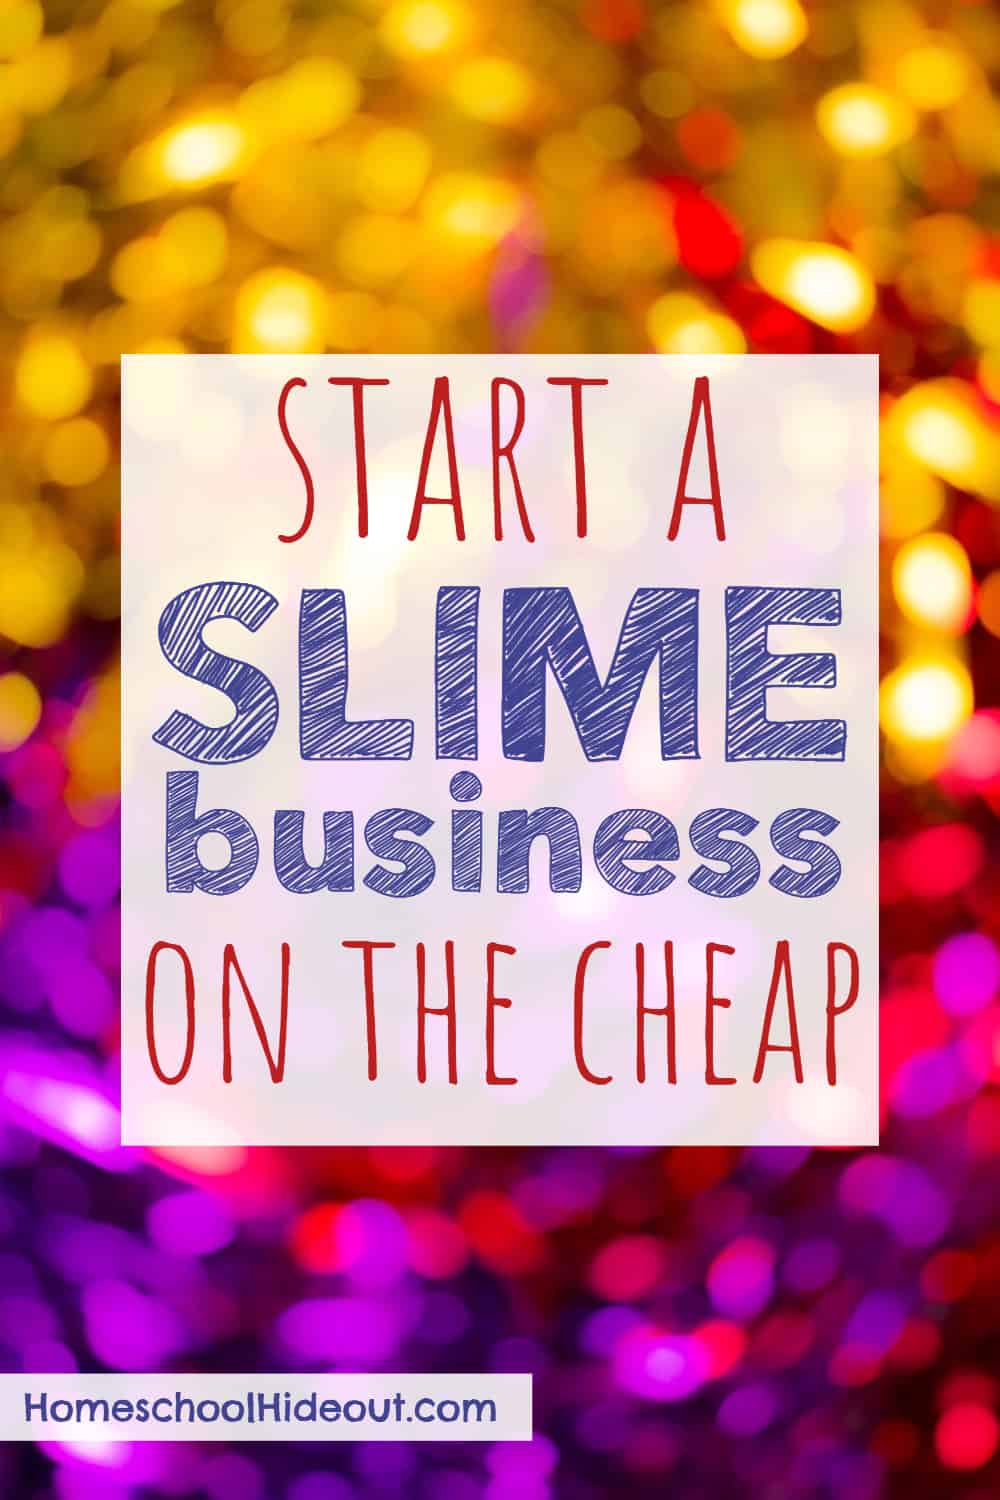

To help guide you, we’ve created the ultimate roadmap to help you get your slime business off the ground. Follow these tips and you’ll be raking in the money in no time.
Business Name:
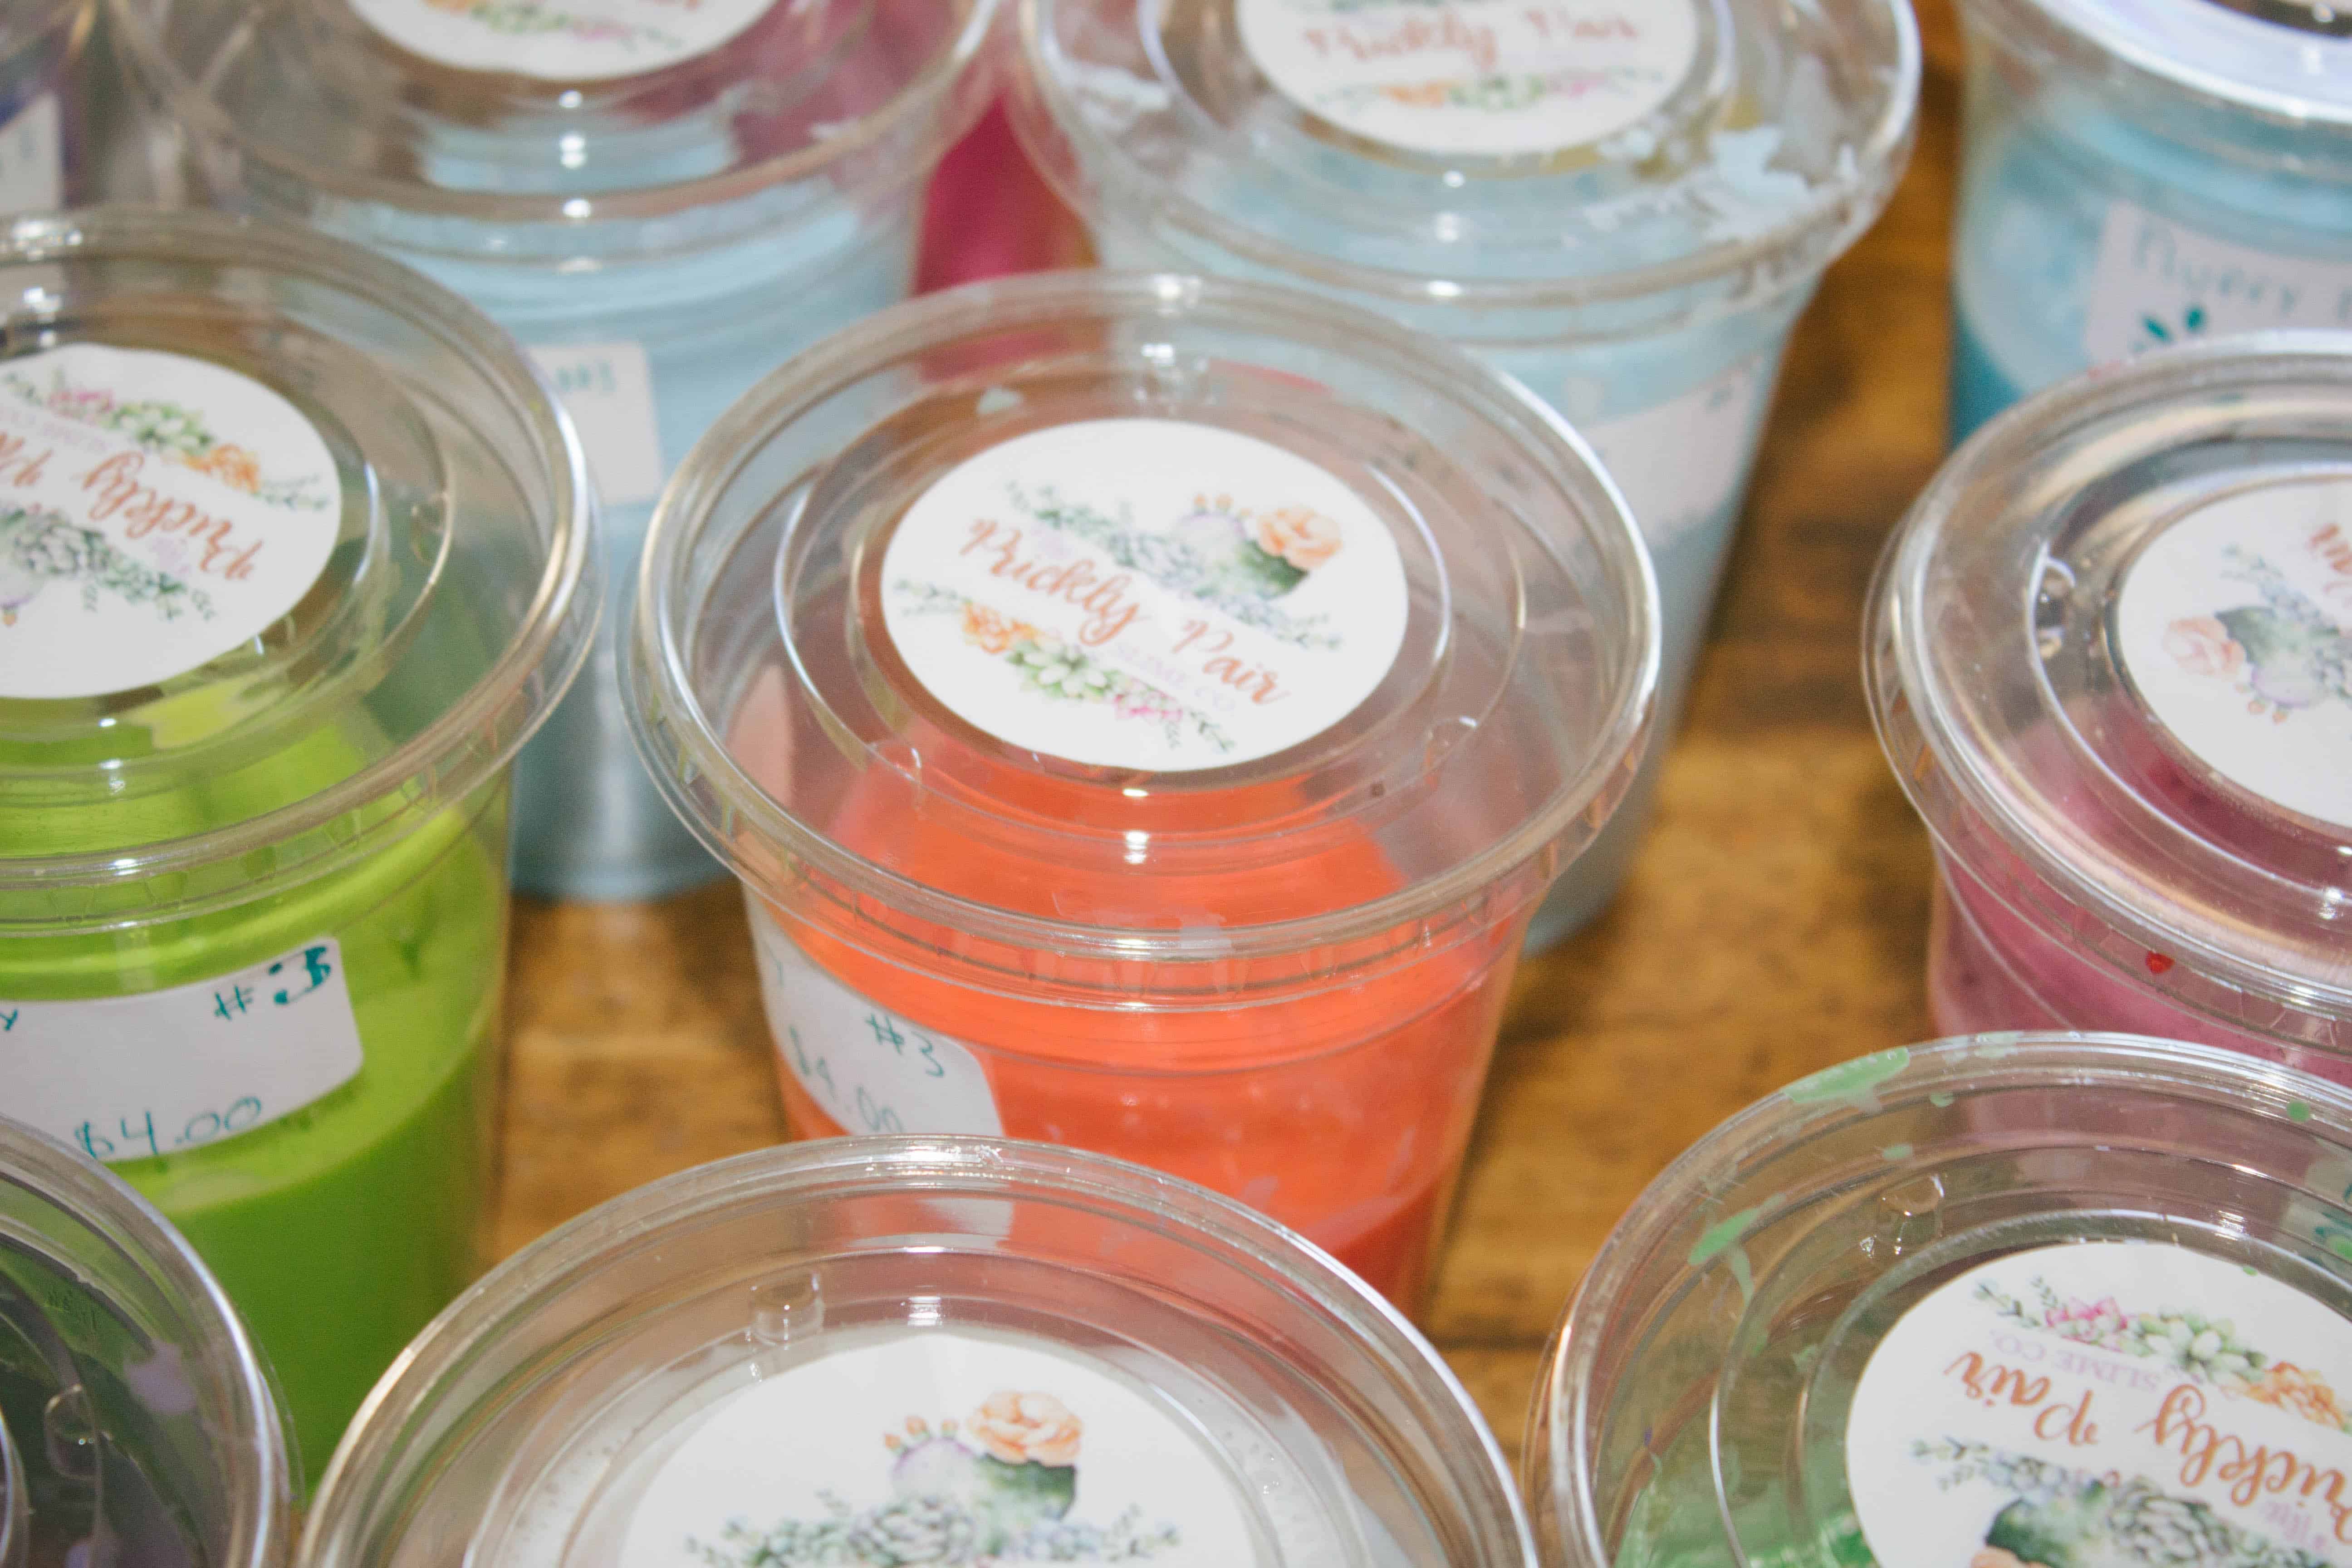
The first thing you need is a business name. Don’t commit to just any name, though. You’ll want something that can grow with your business if you choose to expand to other ventures. Picking the perfect name for your slime business should feel a little bit like naming a baby. You want something that people will remember and immediately know what it is. For instance, you wouldn’t want your slime business to be called Bubba’s Boys. You want people to take one look and immediately know what you are selling. For our slime business, we chose the name “The Prickly Pair Slime Company.” Right away, our customers know that we are a slime company.
Note: My kids chose this name against my advice. While it is cute and lets customers know exactly what they’re getting, it also prevents growth into other ventures. We likely won’t be using “The Prickly Pair Slime Company” to sell T-shirts. I suggested leaving it at simply “The Prickly Pair” and adding slime graphics to the logo, but my vote was overridden. Clearly, they’re exclusively selling slime and have no plans to expand.
Logo:

Choosing a logo is by far the most fun part of starting a slime business. The first thing you need to do is decide what type of feeling you want your logo to convey. If you have a skateboard repair shop, a grungy logo is great but a floral shop would likely look weird if it had a skull and crossbones on the logo.
Think outside the box and try to be original. There’s no need to replicate similar business’ logos. Make sure to learn the difference between a logo and a trademark. You can create a great first impression and make your business name more memorable by choosing the perfect logo design.
And lucky for us, long gone are the days when you needed to shell out a hundred bucks for a decent logo. With sites like Fiverr and Etsy, you can get a custom made logo for under $10!
Our pre-made logo cost only $8 and I easily added our slime business name for free using PicMonkey. We ordered 144 custom photo stickers for under $20 and used them as our labels for the slime.
Market:
You can’t have a successful business without an avenue to sell you product. For us, a local antique mall and flea market is the perfect spot to unload our goods. We just take a tiny section of a booth and dedicated it to our slime business. While there aren’t many toys in the antique mall, we’ve found that parents will gladly let their kiddos spend $5 on some fun slime, as long as they swear to keep their hands off of the more expensive merchandise.
Our back-up plan was the Internet. When we first started, we decided that if our slime business didn’t succeed locally, we’d just drop it on the Internet. Etsy, Ebay, Craigslist and Facebook Marketplace are great places to sell your slime. We decided to sell locally simply because it is more convenient for us.
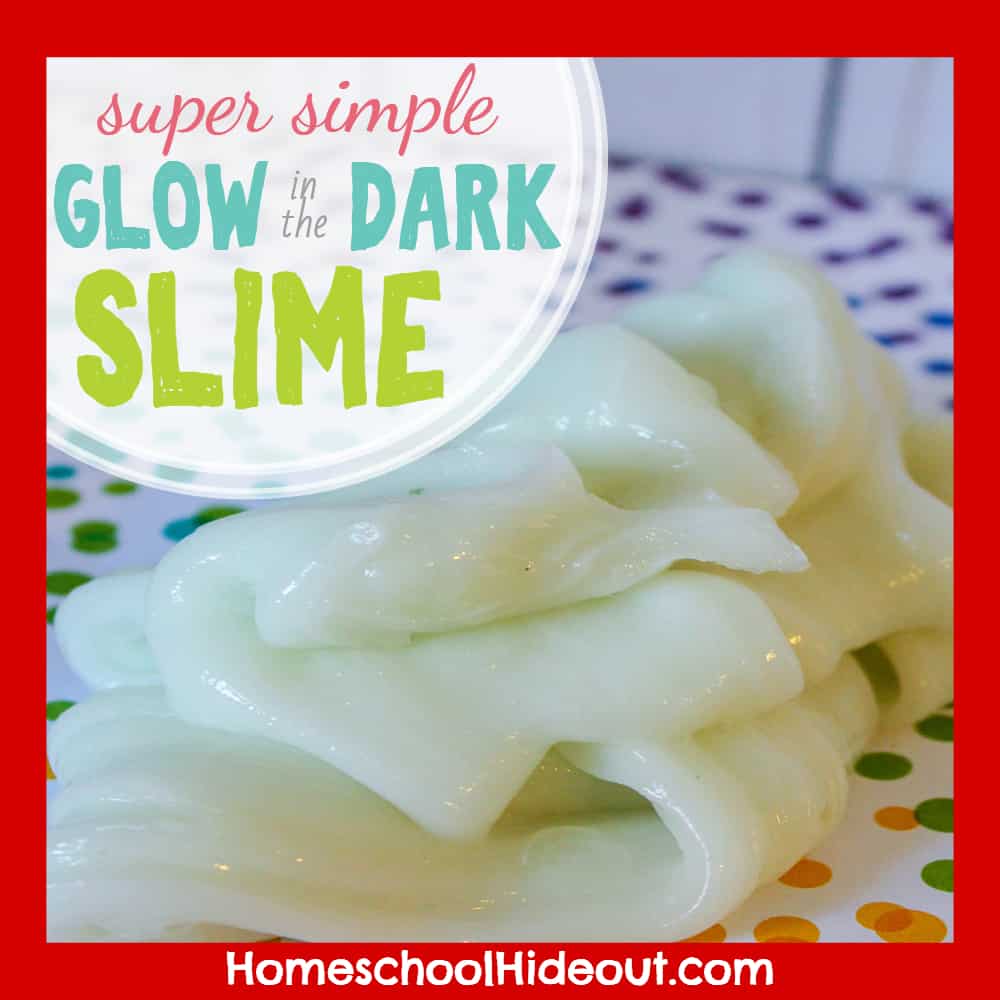
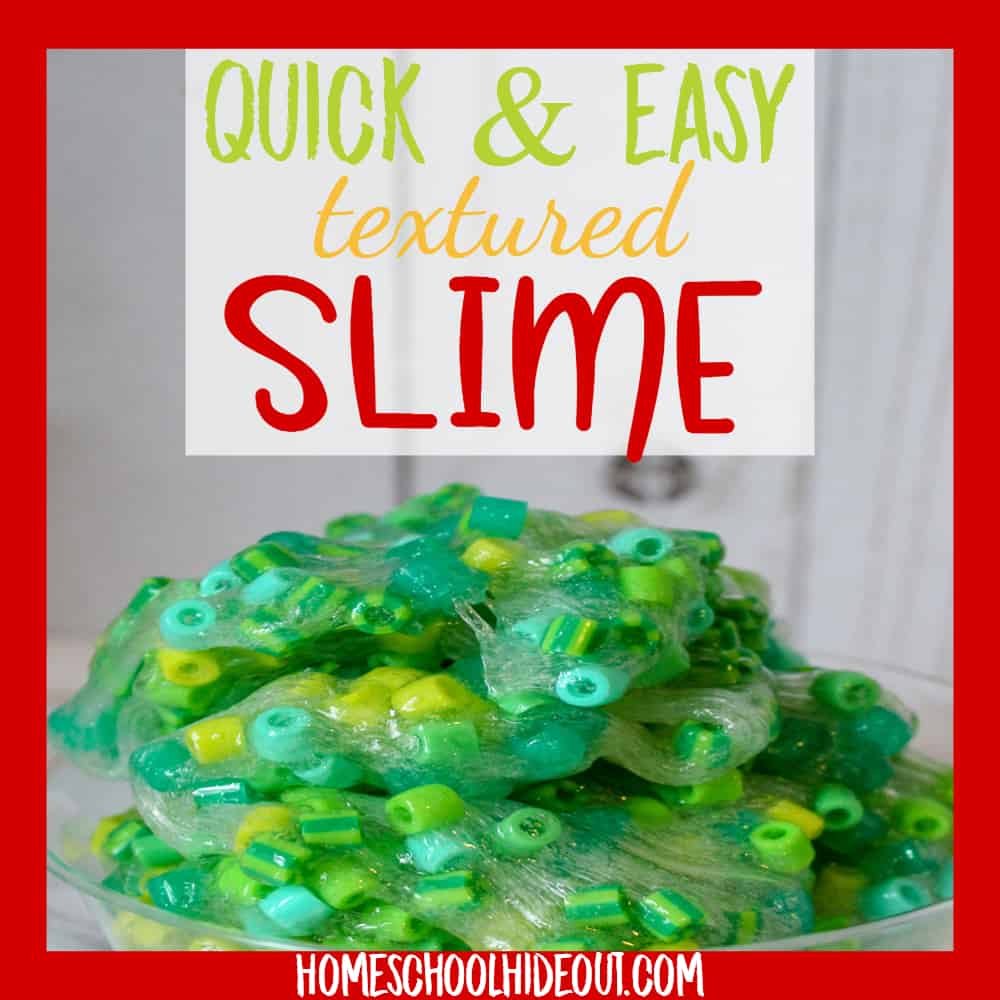
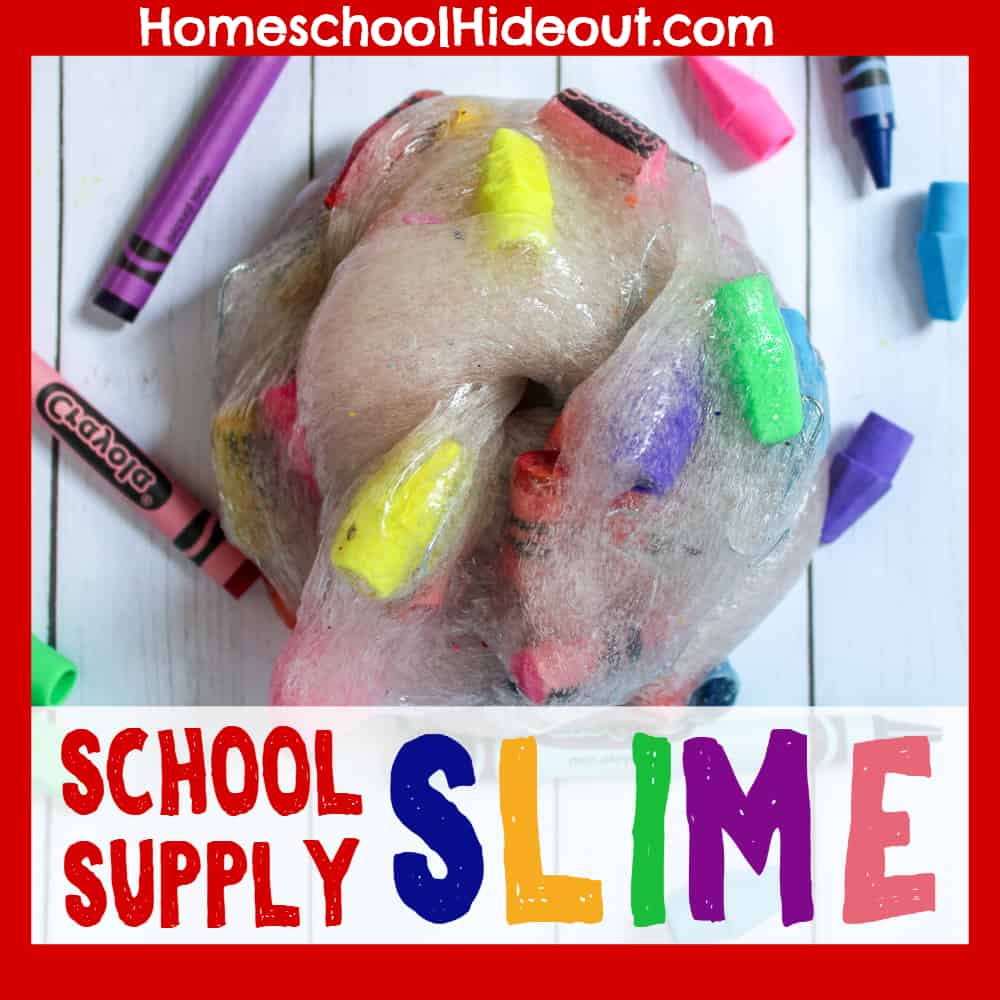
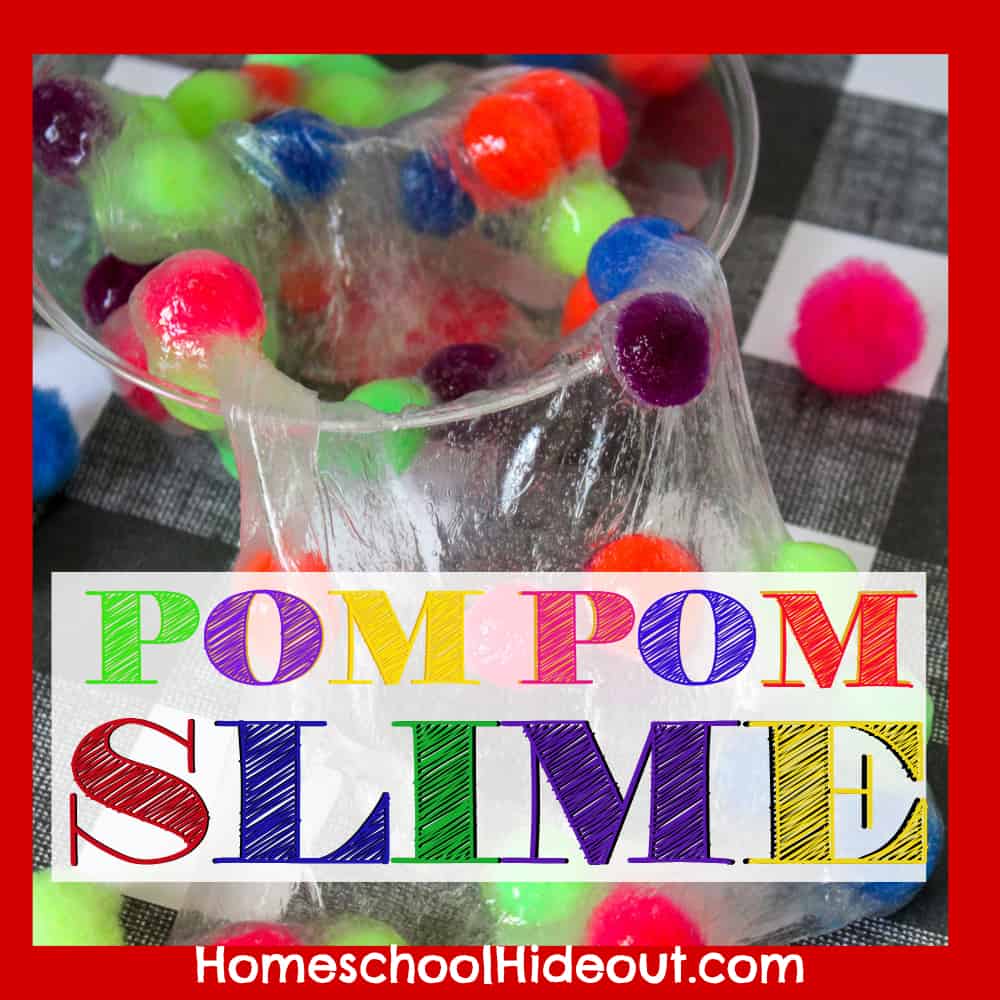
CHECK OUT THESE FUN RECIPES!


Ingredients:
The biggest cost to starting a slime business is the ingredients. My kids saved $150 to start up their business and they have had PLENTY of money left. For basic slimes, you need only a handful of ingredients:
- Elmer’s White School Glue: Elmer’s white glue is a staple in most slime recipes. We saved money by purchasing in bulk. Each batch of slime needs about 1 cup of glue, so a gallon will make 16 good-sized batches of slime.
- Borax: Borax goes a LONG way in a slime business. You only need about 3 teaspoons per batch of slime, so a $4 box of borax will last…forever.
- Shaving Cream: For fluffy, light slime, you’ll need some cheap shaving cream. We purchased some at the Dollar Tree to save money. You only need a few squirts per batch, so it, too, will last a while.
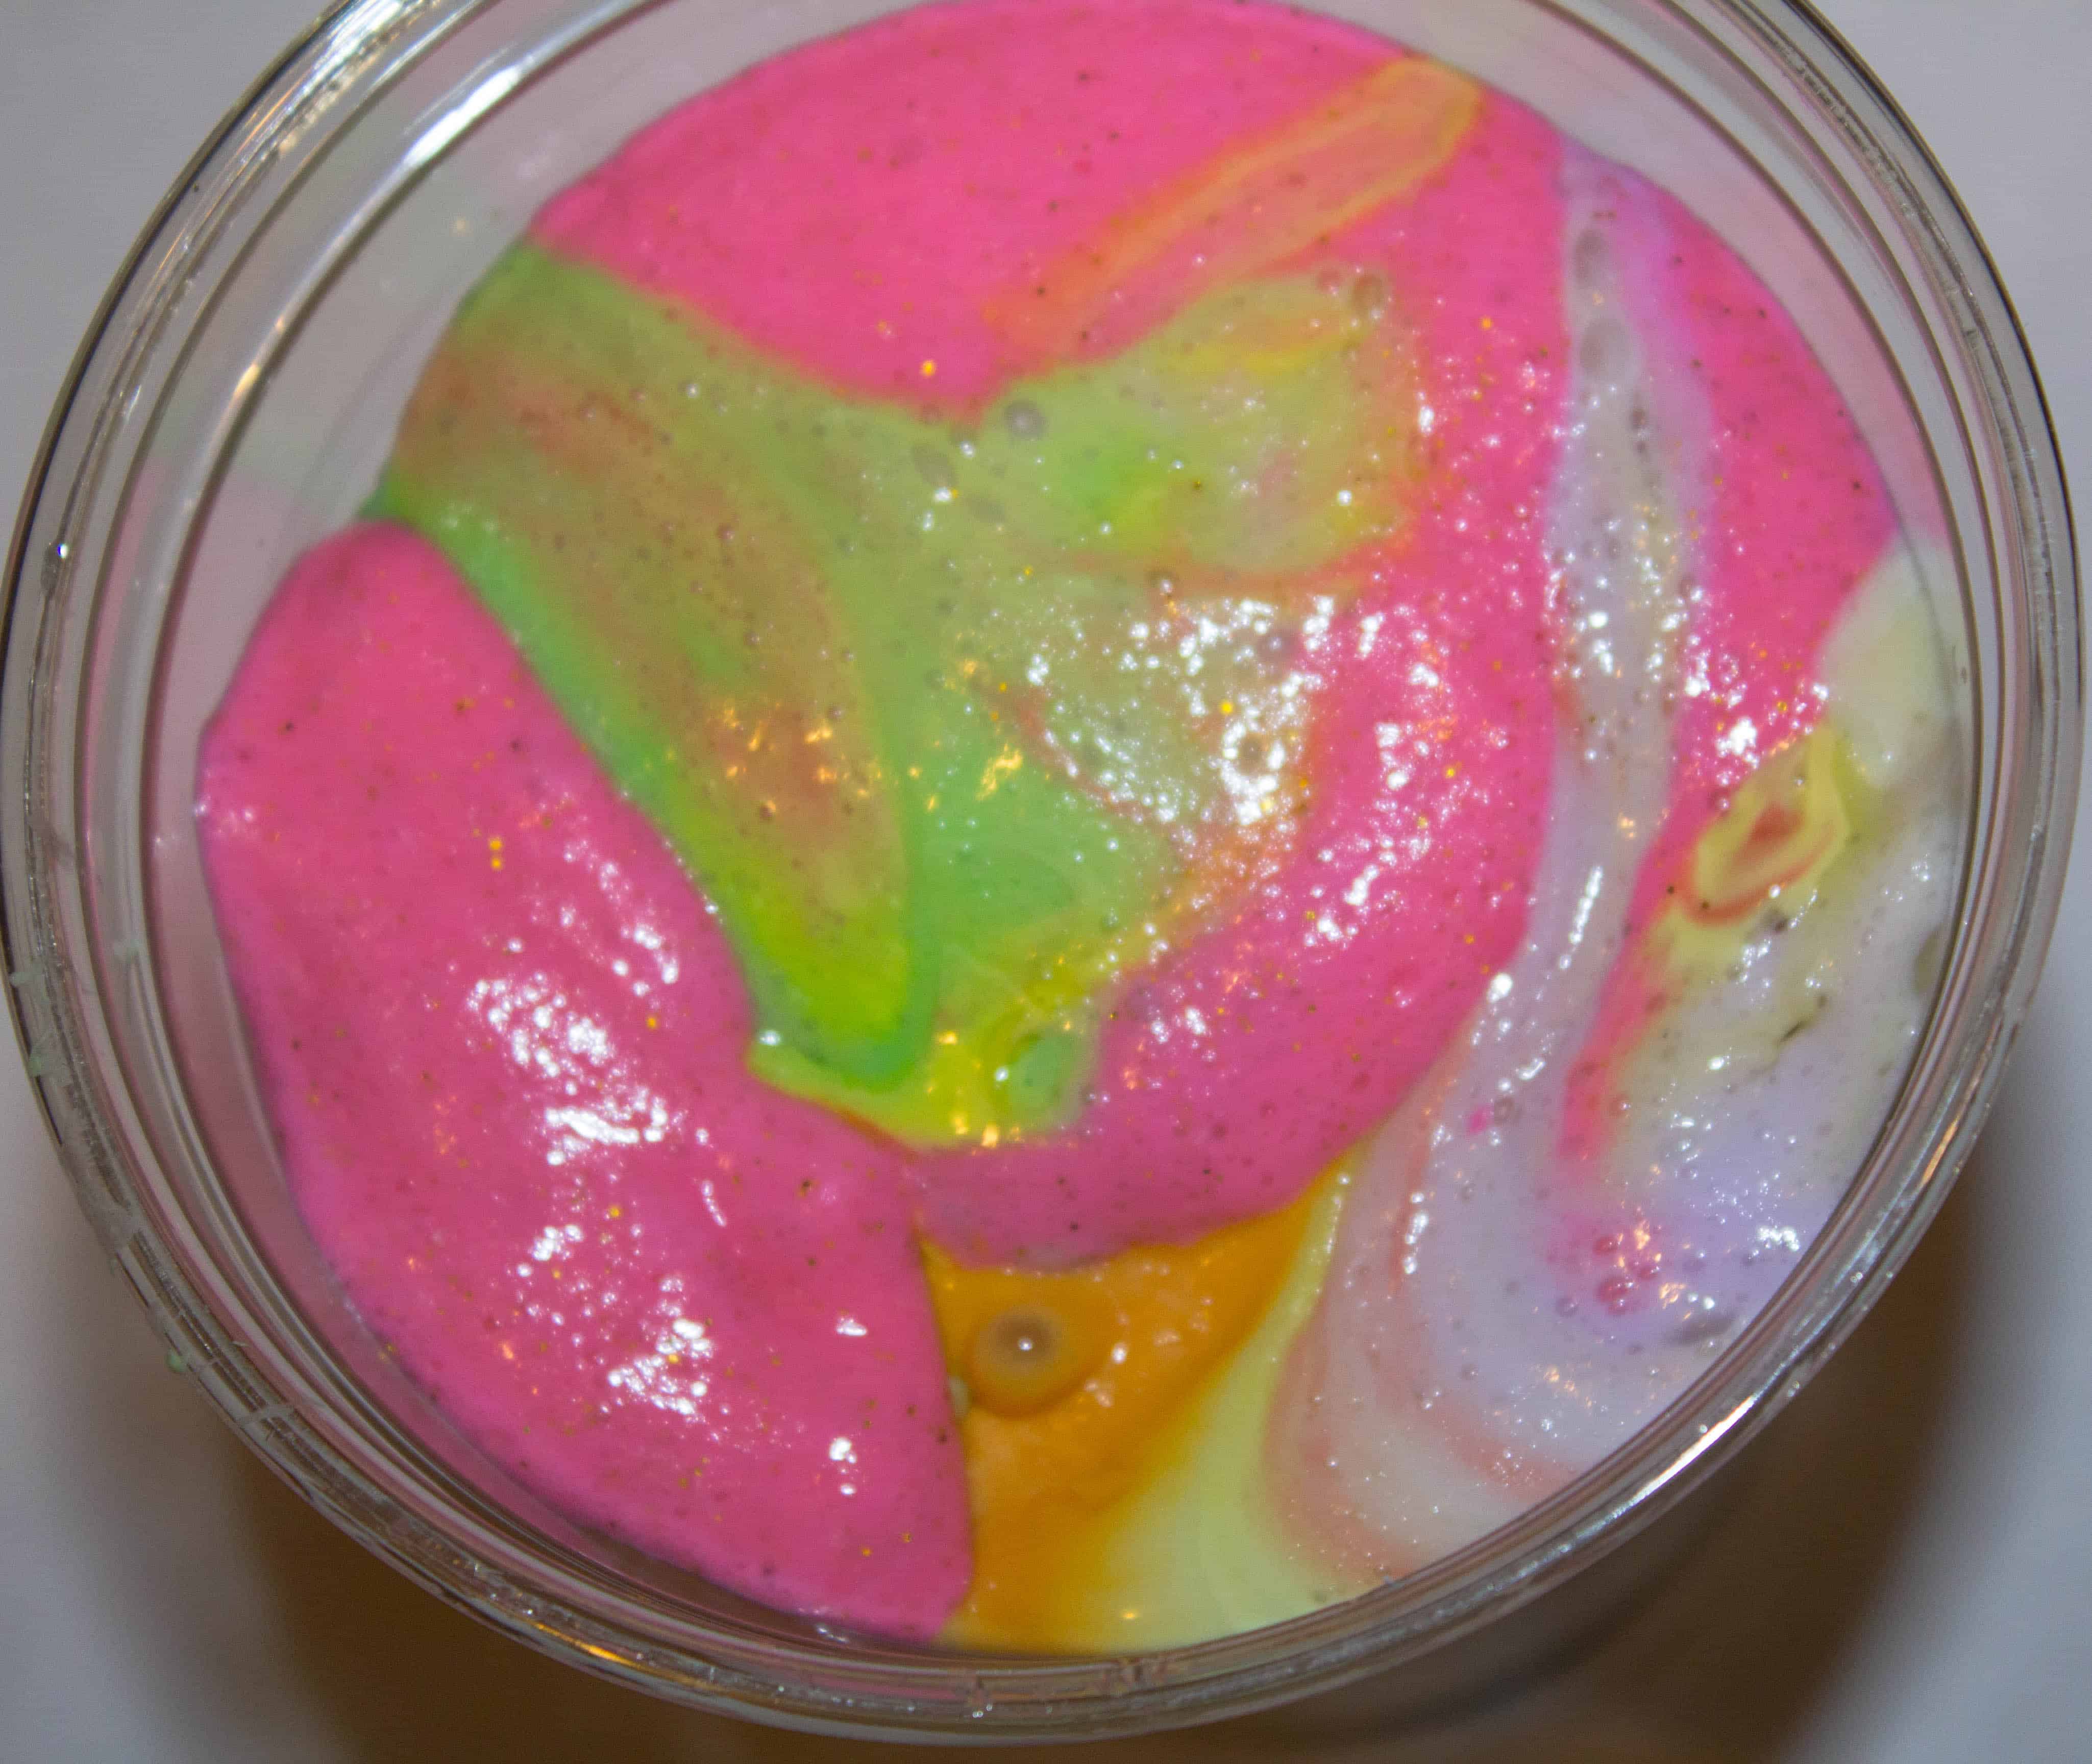
- Food Coloring, Acrylic Paint or Watercolors: Kids will fall in love with the different colors they can create for their slime. Choose between food coloring or paints (we like Acrylic and watercolors) to take your slime to the next level. For light colors, add just a drop or two of coloring to your slime. For darker, more rich colors, add several drops until you get the look you’re going for.
- Foaming Hand Soap: If you’re trying to achieve bubbly slime, you’ll want to add some foaming hand soap to the mix. Just a few pumps will add plenty of bubbles.
- Water: Water is the ultimate addition to thick, heavy slimes. It helps make the batch larger and more gummy.
- Lotion: Lotion will help give your slime more elasticity. With just a few squirts of cheap lotion (we prefer Jergens!) you can make your slime more stretchy.
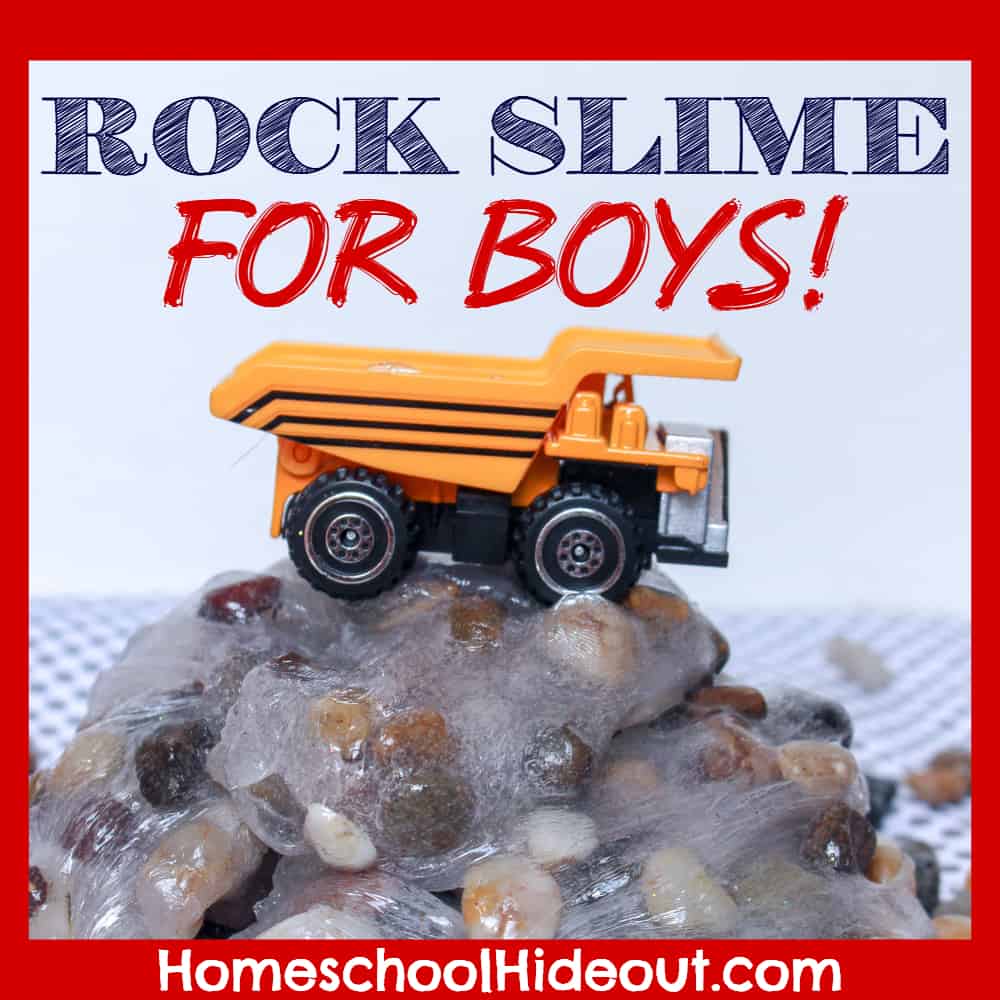
- Extras: You can add all kinds of items to your slime to make it more exciting! We’ve added glitter,, itty bitty pom-poms and beads to our slime. (My favorite is the itty-bitty pom poms! It makes the most adorable confetti slime!)
If you’re looking to turn your slime into floam, you can add styrofoam beads, which can be found in the floral aisle of Dollar Tree.
Work Area:
You’ll want to make sure you have an organized work space that is solely dedicated to your slime business. The area doesn’t have to be big but it does need to be easy to clean. We chose a workbench in our garage as the kids’ work station. They keep their supplies, boxes of glue and labels in one area, keeping it easy to locate. The kids can mix up a batch of slime, place it in the containers and then slap a label on it without ever leaving their work area.
Containers:
When choosing a container, you want something that is durable, affordable and air tight. We ordered some clear favor boxes from Oriental Trading but wasn’t able to use them, as they let in too much air. (They are perfect for slime that you know will sell quickly or to give to friends, though!)
Other options include clear lidded drinking cups from Sam’s Club, containers from ULine or Ebay or even just cheap containers from your local “big box” store.
Pricing:
It’s hard to decide a price for your products, no matter what it is. While you want to make money, you also want to give your customers a good deal. Pricing can make or break your slime business, so there are a few factors to take into consideration:
- Your Time: First things first! You’re doing this to make money, not just for fun. Owning a slime business is hard work and not for the faint of heart. You have put in the time, done the research and taken action. You should be paid for the time you’ve invested in your slime business. Decide what you think is a fair wage per hour and keep track of how long it takes you to whip up a batch of slime. Using these numbers, determine how much you need to charge, per container, to make money. {Bonus points: You’ll be brushing up on those math skills, too!}
- Cost of Supplies: Don’t forget to cover the cost of all supplies used in your slime business. Figure how many batches of slime you can create using your glitter, itty-bitty pom poms, and other add-ins. Divide the price by the number of batches and that’s how much you need to charge per container for those supplies. Try to get these numbers as accurate as possible the first time and write them down, so you won’t need to re-figure each batch of slime.

- Supply and Demand: If you are selling out of slime before you can get more on the shelves, you may need to raise your prices. With so many people wanting to buy your product, it’s possible that you are undercharging for your product. In retrospect, if you haven’t sold any slime in a few weeks, it may be time to slash your prices. Knock the cost down a bit and see if your sales pick up. Adjust your price until you’ve hit the sweet spot and are selling slime consistently.
- Fees and Rent: If you, like us, are selling your produce in a flea market, you will need to factor in the cost of your monthly rent and fees. Even if you sell online, you will likely have fees for your slime business. Be sure to calculate these into your price so you’re not losing money.
Display:
No matter how amazing your product is, your slime business will not succeed without being visual appealing to your customers. Setting up an easy-to-navigate display is simple and doesn’t take much effort but there are some tips that you should follow:
Get It Up: Make sure your products are displayed at varied heights. Staggering the heights of your product makes it more appealing, catches the customer’s eye and draws them in. Instead of simply lining up your slime on a display table, try elevating some, while leaving others on the table. This is a great way to add character to an otherwise mundane product display.
Use the Unexpected: By adding in some fun elements, customers will want to stop and browse through your inventory instead of just passing by.
- Use vintage books to add some depth to your display. Simply place your containers of slime on stacks of old books.
- Baskets are perfect for corralling your products, without making your display look boring. Use several smaller baskets to separate by color, type or price.
- Prop open a vintage suitcase and fill with your slime.
- Grab an old bicycle wheel and sit it atop a lazy susan. Customers can easily spin through all of your merchandise, guaranteeing they don’t miss a thing!
- Use an old step ladder to display your products at varying heights. Not only will it add whimsy but also visual appeal.
- Old drawers are the perfect size for holding containers of slime. Stand them up or leave them flat on tables for added interest.
- Display your price charts or printed logos using clipboards or hang them from a string, like a clothesline.
- Use your imagination! There are millions of unexpected objects that can be used to make your display fun and inviting.

Accessible: So often, we stack products in rows or towers but that makes it really hard for customers to not only see each product but also to get to the item once they decide to buy it. When running your slime business, you’ll need to keep in mind that slime come in different colors and types. Keep each of them easily accessible to your customers. Keep your items easy to reach, within reach of a 5 foot person.
Refresh Often: If your slime isn’t selling well, it may be a good idea to rearrange your entire display. Sometimes just moving things around and redoing the whole scheme can make a world of difference. Simply remove all of your products and start from scratch. Doing this often keeps customers coming in to check out your newest additions. If the display looks stale and is seldom changed, people tend to walk right on by.
Keep it Simple: It’s easy to get swept up into the “staging” aspect of your display but don’t forget the main goal: to sell your slime. Fancy props, busy decor or too many roadblocks can keep customers from purchasing from you. Keep it simple enough that they don’t feel intimidated or overwhelmed but inviting enough that they want to grab a container and check it out.
Consider a Tester: People want to know what they’re getting before they buy it. Kids are especially guilty of wanting to give slime a squeeze before committing to it. For this reason, it’s a great idea (or necessity!) to keep one or two “tester” slime for the kids to handle. Instead of opening every container of slime you have for sale, kids can simply give your tester a try to see which slime they like best. Be sure to label the tester slime clearly so everyone knows which is available to touch and which containers are not.
With the slime business booming, you’ll want to grab your kiddos and get their first business started right away! With a low start-up cost and an in-demand product, your slime business will be up and running in no time!
What is your #1 tip for a successful slime business?
PIN IT!