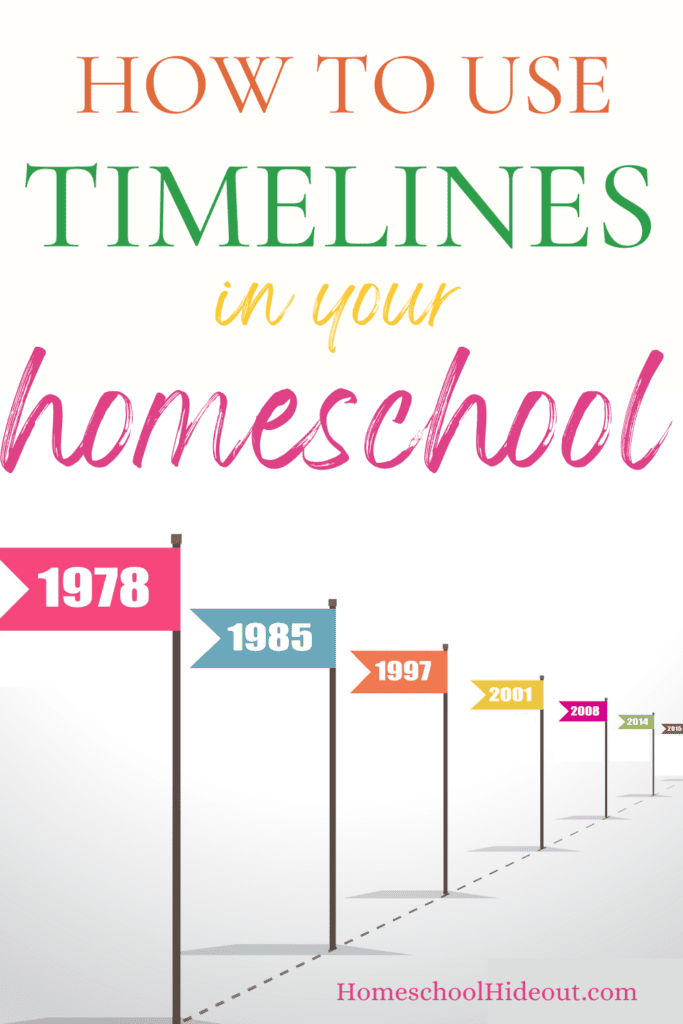
Looking for ideas on how to use timelines in your homeschool?
A timeline is a great way to make history more informative and fun. It can help students understand the order of events and how they are related.
Timelines can be used for any subject, not just history. Science, math, and other subjects can also benefit from using timelines. For science, a timeline can help students understand the order of events and how they are related. For math, a timeline can help students understand the order of operations and how they are connected.
There are many different ways to create timelines. No matter which method you choose, there are some important things to keep in mind when creating a timeline template. We’ve gathered 13 tips on how you can design a fun and informative timeline your students will enjoy.
How to Use Timelines in Your Homeschool
1. Keep your timeline template simple
When creating timelines, it is important to keep the design simple. This will make it easier for students to understand and use. Too much information can be overwhelming and can affect the retention of students. Stick to what’s crucial and include only the most important information.
2. Use different colors
Using different colors for different events is a great way to make timelines more visually appealing. It can help students better understand the order of events and how they are related. Different colors can also add visual interest to the timeline.
3. Use different fonts
Adding different fonts can help make timelines more visually interesting. Try using different fonts for different types of events. For example, you could use a sans serif font for dates and a serif font for event descriptions. This will help differentiate between different types of information.
4. Use different types of media
Timelines can be created using a variety of different media, including text, pictures, and graphics. It has a lot of flexibility and allows you to use the type of media that best suits your needs. For example, you could include videos or audio recordings of people talking about the events on the timeline. Adding images to timelines can also help students visualize the events. Not to mention, it can also help make the timeline more interesting to look at. Include photos, illustrations, or even maps to help explain events.
5. Use symbols for easy identification
Symbols can be used to represent important people, places, or things in a timeline. This makes it easier for students to identify and understand the information presented on the timeline.
6. Label each event clearly
Labeling each event clearly is important for helping students understand the timeline. Make sure to include the date, time, and location of each event. You may also want to include a brief description of what happened.
7. Organize events chronologically
Chronological ordering helps students understand the order of events and how they are related. Chronological ordering helps make sense of the information and avoids confusion especially when there are overlapping events in a period. This helps students understand the order in which events occurred and how they are related.
8. Use a consistent format
One way to make sure your timeline is easy to read and understand is to use a consistent format for all of the events on it. This includes using the one or complementing fonts, colors, and symbols throughout the timeline. This will help students better understand the information presented.
9. Highlight key events
Highlighting key events on the timeline is a great way to help students identify and remember important information. You can use different colors or symbols to highlight these events.
10. Add additional information as needed
Adding additional information, such as facts or quotes, can help students better understand the events on the timeline. This information can be included in the form of notes or captions.
11. Keep it organized
Timelines can be a lot of information to take in, so it is important to keep them well organized. Make sure all of your information is easy to find and follow. Using a consistent format and labeling each event clearly will help with this.
12. Make it portable
Make your timeline portable by printing it out or converting it to a PDF file. This will allow students to take it with them wherever they go!
13. Have fun!
Don’t forget to have fun when creating timelines. The more interesting and engaging you make them, the better students will learn from them.
Final thoughts,
Timelines are a great way for students to visualize and understand the order of events and how they are related. The more interesting and engaging you make it, the better students will learn from it. While it is important to keep in mind all of these tips, don’t forget to have fun with your timeline!
There are many different ways to create timelines, so feel free to experiment until you find the method that works best for you. If you want to create a timeline without much difficulty, visit Venngage and browse through pre-designed templates you can use and customize. So go ahead and get creative!


