Looking for ideas to upcycle packaging easily? We’ve got you covered!
Who doesn’t love finding new uses for packaging instead of discarding them wastefully? Not only is upcycling environmentally friendly, but it’s a fun way to keep the creative juices flowing as you give an item a new purpose. Believe it or not, that simple cardboard box from Amazon can be pretty versatile.
Before you embark on your upcycling journey, ensure you have the proper tools. Many types of box cutters are specifically designed to make the cutting process easier for you. A box opener tool is the way to go, especially one that protects you from harm and cuts effectively. Look for one with a strong blade and a comfortable grip. If you’re new to upcycling, consider investing in a starter kit that comes with all the essential tools, including box cutters. With the right tools in hand, you’ll be ready to transform drab cardboard into chic home decor.
Now that you have the right tool for the job, here are four creative ways to upcycle packaging easily.
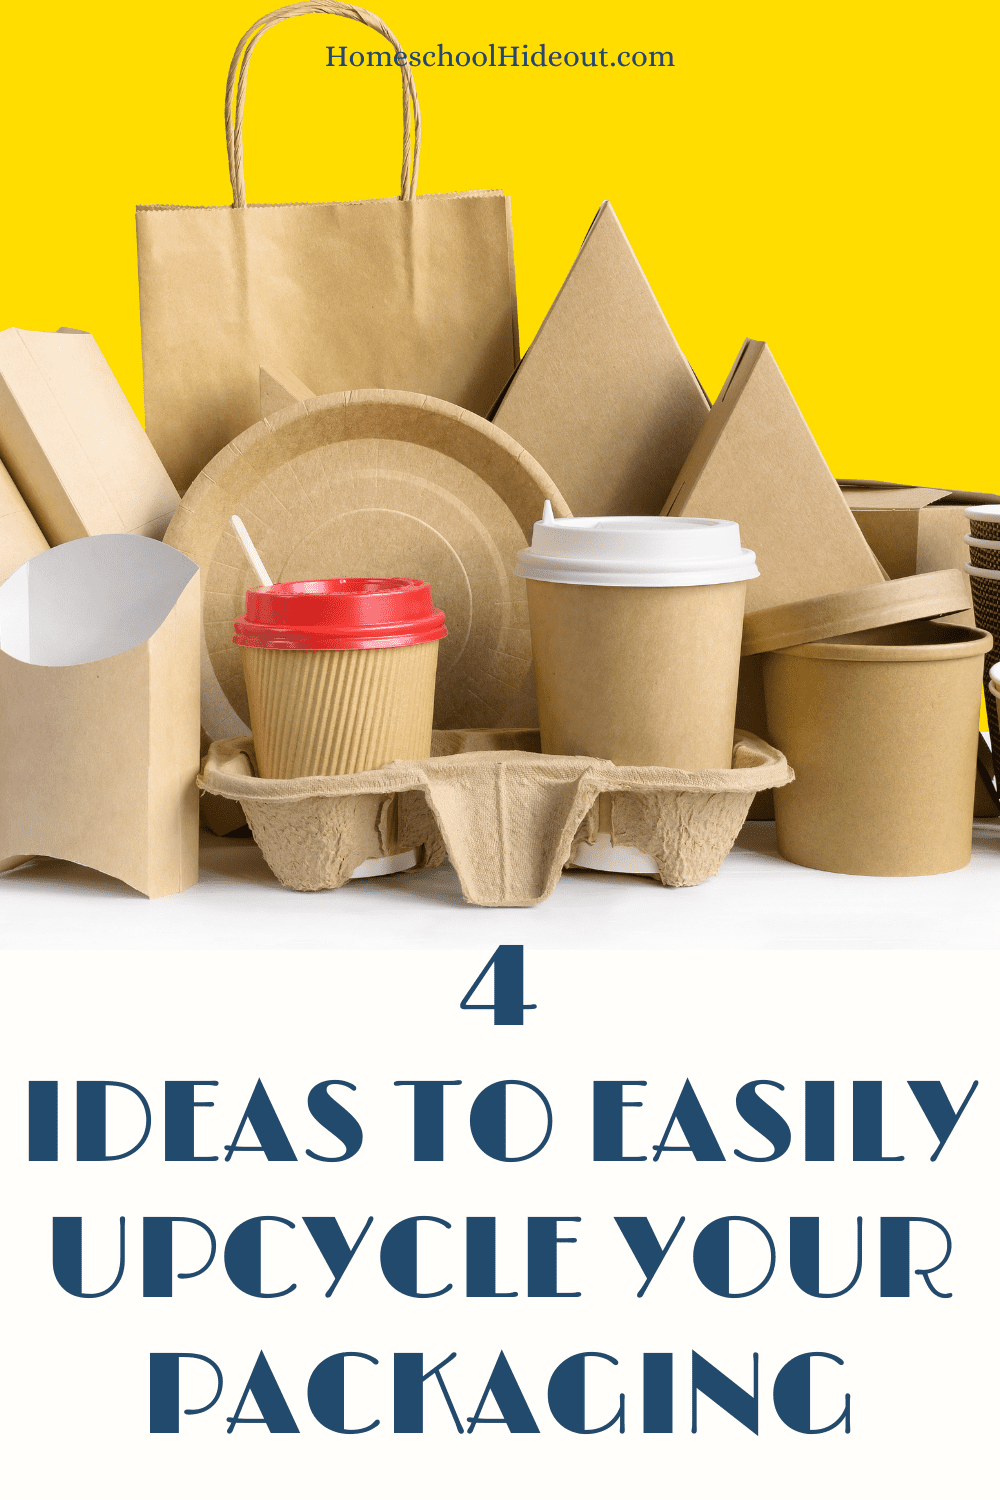
4 Ways to Upcycle Packaging Easily
Construct a Photo Frame
Here’s a simple method to upcycle excess cardboard. Turn it into a way to preserve memories by constructing photo frames. Create a template for the shape of your desired frame. Trace the template onto cardboard and cut it out.
Next, glue the cardboard frame to decorative paper to spruce it up. Fold each side and cut the corners. After that, glue the folded sides of the decorative paper to each side of the frame.
Then, utilize a ruler and pencil to mark an “X” inside the frame. Cut out the “X.” Whip out that glue again to adhere the extra flaps to the frame. Now, you’ve got a unique frame to showcase your best pictures.
When cutting anything, you want to ensure a sturdy, safe tool at your disposal. If you’re on the hunt for that perfect implement, a box cutter with a zirconium oxide blade will protect you from injuries while slicing through numerous materials effectively.
Create Storage Totes
If you’re at a loss for how to store the extra stuff you have, then a durable storage tote is the way to go. Repurposed cardboard boxes make for excellent containers. Even better – you can make them look stylish!
You’ll need old belts, sturdy fabric (you can get creatives with the colors), screw bolts, spray adhesive, a gold paint pen, and brads. You’ll also need a ruler, drill, and scissors; however, a versatile, effective, safe box cutter or utility knife will do the trick.
After cutting the fabric to fit your box, wrap it like a present, utilizing adhesive spray to keep it in place. The belt will be your handle, so drill holes in it and attach each side to your tote with your screw bolts. Then, the brads come into play to give your belt handles an upholstered look. You can use the gold paint pen to paint the screw bolts.
Make a Scratching Post for Your Feline Friends
Cats love to scratch as much as they love plotting world domination. Instead of sacrificing your furniture to their mighty claws, why not construct a scratching post to scratch their scratching itch? This project requires glue, cutting implements (enter that handy box cutter), a ruler, tape, and a hole puncher.
After creating a tray out of your cardboard, use the ruler to cut one-inch strips. Glue the strips together before placing them in the tray. If you want to hang the scratching post somewhere, you can utilize the hole puncher. Thread twine through the holes, and you’re good to go.
Lastly, wrap some jute around the outside of the scratching post to secure the strips inside the tray. You don’t want to glue said strips to the tray; instead, keep the strips adhered together so when your kitty scratches one side to bits, you can flip it over for more scratching fun.
Craft Cardboard Lanterns
Here’s a fun upcycling project that’ll illuminate your space. You can use extra cardboard to craft cardboard lanterns. You’ll need an oblong cardboard container to house a glass jar for your light. But before that, cut out an oblong shape on two sides, and glue decorative paper on their insides.
Next, glue a stack of square pieces of cardboard together to create the base of your lantern. You’ll do something similar for the top, except add a small square and sandwich it between two larger pieces of cardboard to create the said top.
After you’ve assembled those pieces (make sure the glass jar is inside), papier mâché each section of the lantern, covering it completely.
If you wish to take your creation up a notch, you can glue dried clay decals onto your lantern. Then, cover it with black acrylic paint and dab on white acrylic paint to give it a tarnished lantern look. Place a candle inside the glass jar, fashion a handle for you to grasp, and you’ve got yourself an old-school-looking lantern to light your path.
Since you’ll be doing a lot of cutting, think about purchasing a box cutter with an auto-retractable blade. For some designs, the blade will automatically retract with the release of a button, ensuring your tool’s blade is never exposed while not in use, which can lead to injuries.
You’ll have a blast if you approach your upcycling tasks with safety and care while having the right tools.
We’d love to hear other ideas to upcycle packaging! Head to our Facebook page and let us know your tips.